

Billing Profiles
Billing Profiles is a new section in the Agency Admin portal that allows agencies to view and manage customer profiles used for ticket issuance and invoicing. These profiles are linked to your back-office system and play a critical role in tracking which customer or corporate account a ticket is billed to.
Availability: This feature is available for agencies using Wave TRAACS, NuTRAACS, or AIR File Export as their backoffice connector. Agencies without a backoffice connector will not see the Billing Profiles section.
Navigating to Billing Profiles
From the Agency Admin left navigation menu, click Billing Profiles.
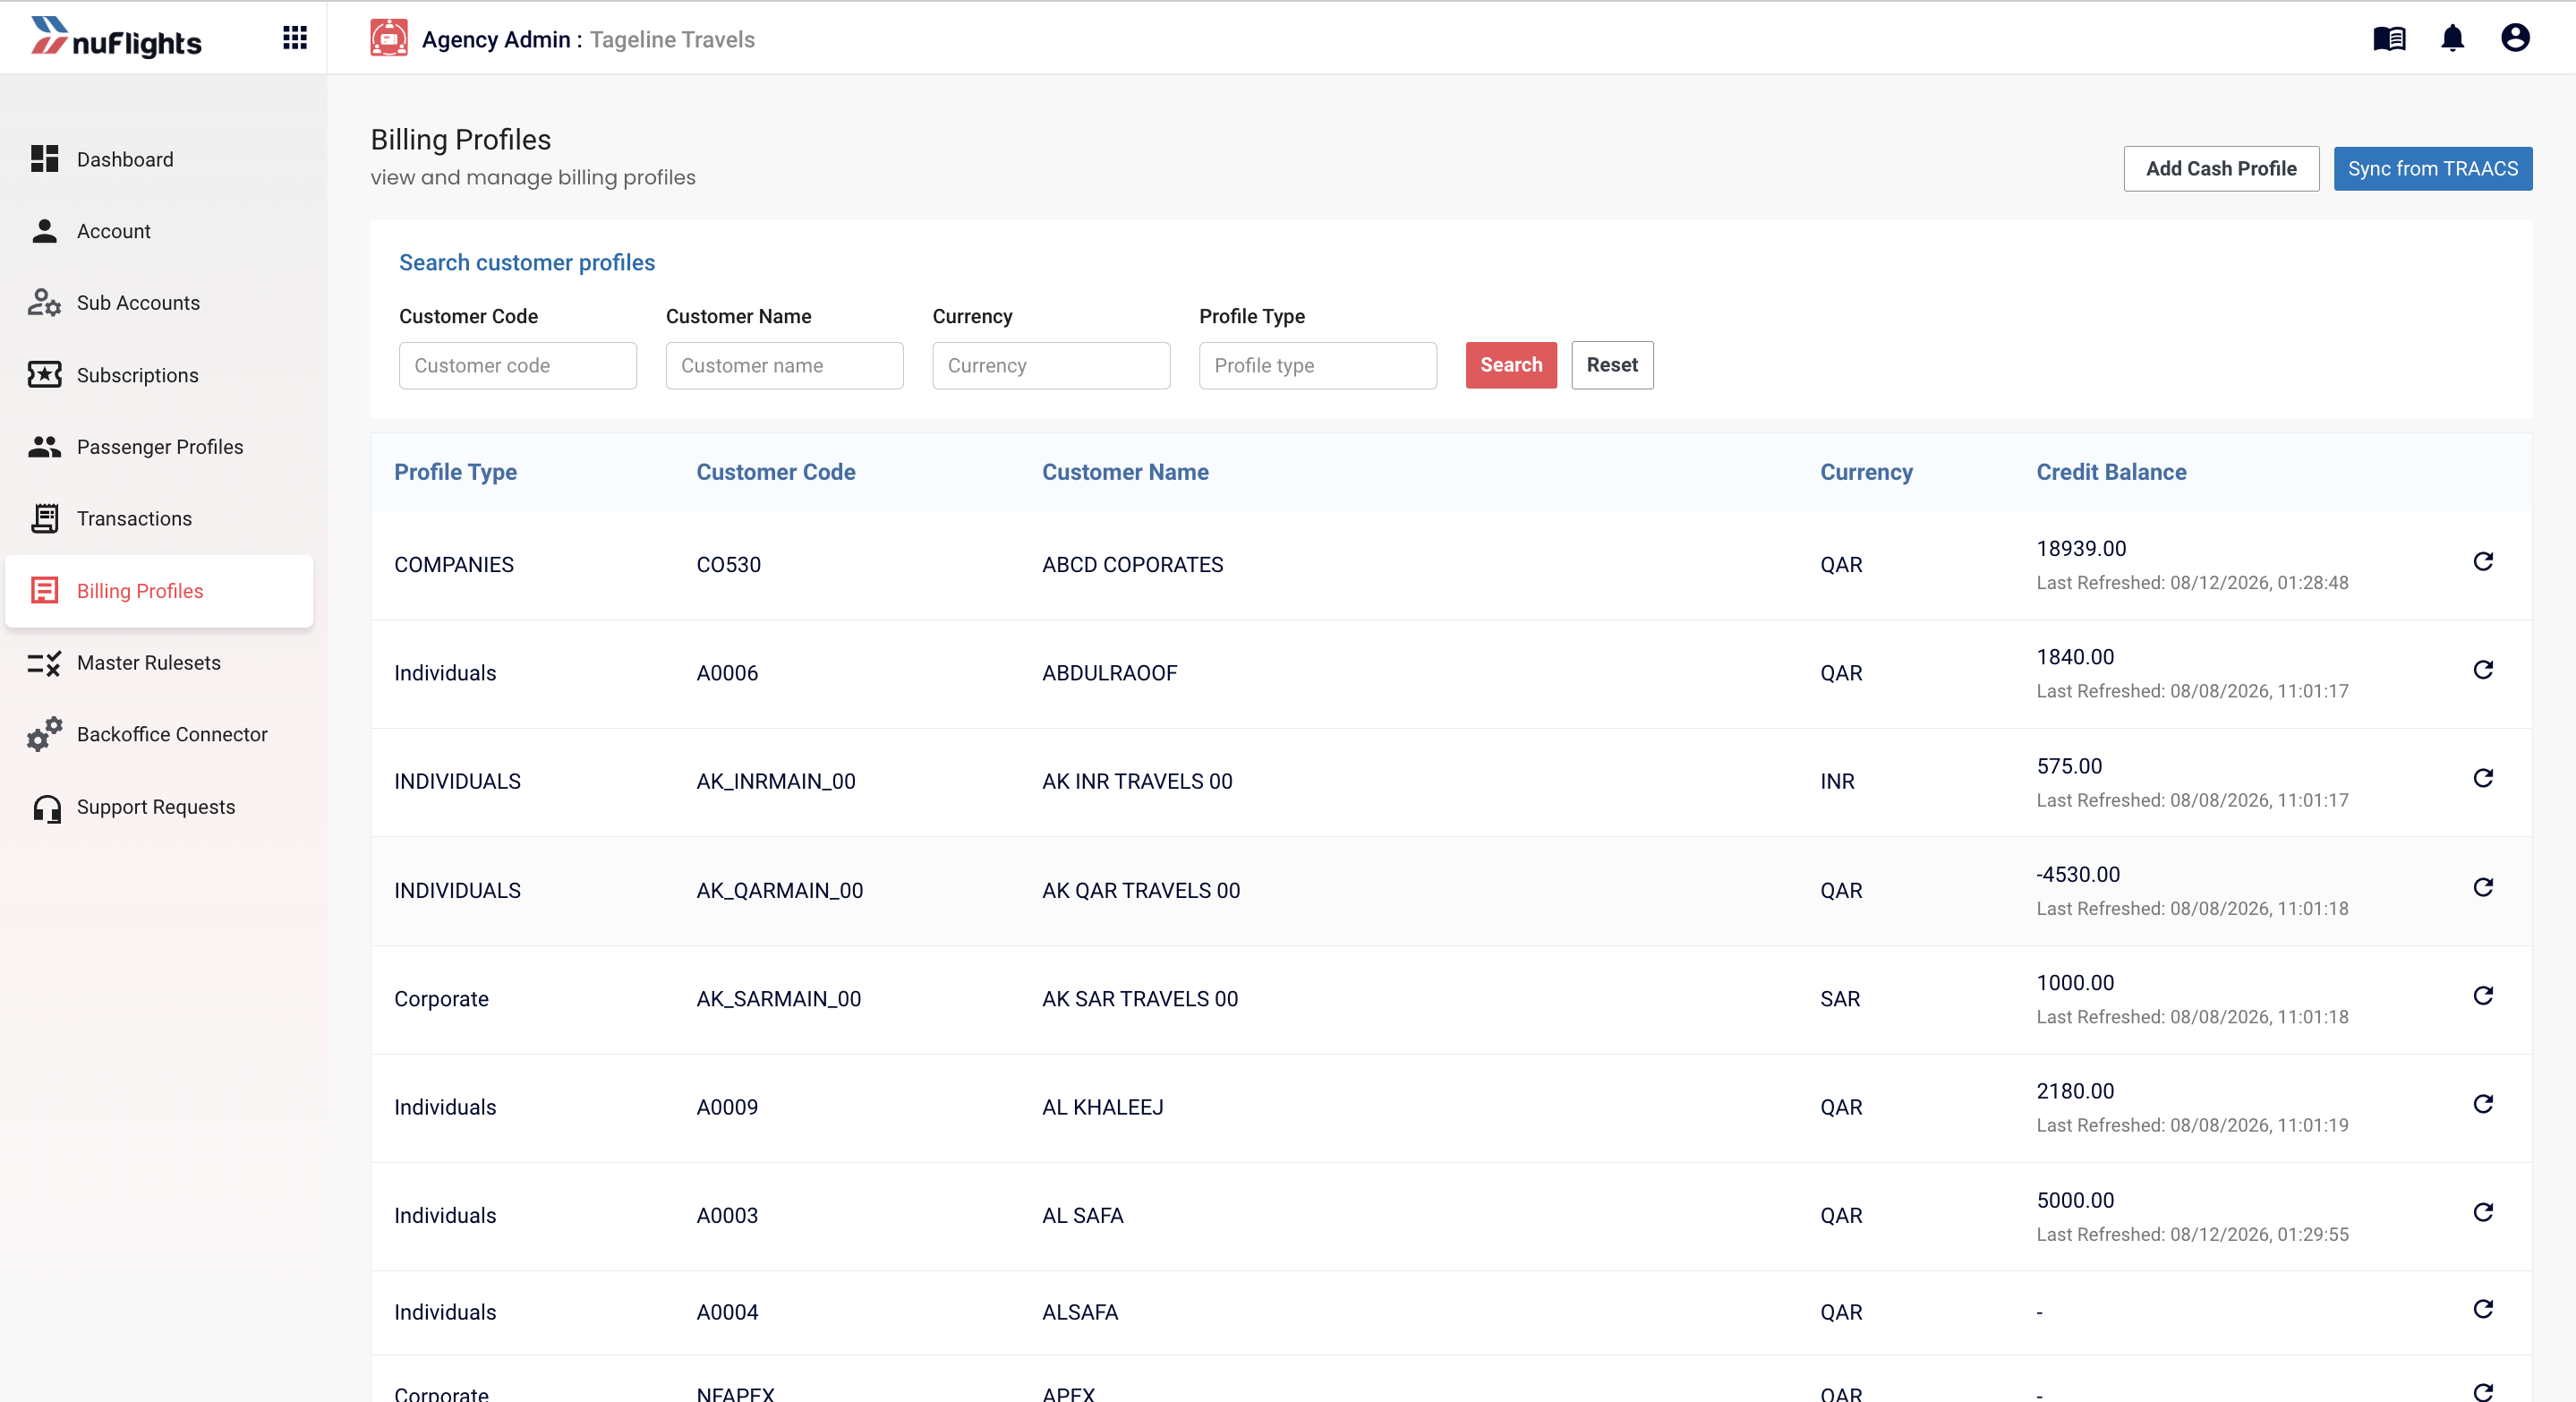
Billing Profiles page showing customer profiles list
The Billing Profiles page displays a table of all customer profiles available to your agency. Each profile includes:
| Column | Description |
|---|---|
| Profile Type | The type of profile (e.g., Companies, Individuals, Corporate, Cash Account) |
| Customer Code | The unique identifier for the customer in your back-office system |
| Customer Name | The name of the customer or corporate account |
| Currency | The currency associated with the profile |
| Credit Balance | The available credit for this customer (fetched from TRAACS). Displays the amount and the last refreshed timestamp |
You can use the search filters at the top — Customer Code, Customer Name, Currency, and Profile Type — to quickly locate a specific profile.
Checking Credit Balance
To check the real-time credit balance for a specific customer profile, click the refresh icon (↻) next to the profile row. NuFlights will query your TRAACS system and update the Credit Balance column with the current balance and timestamp.
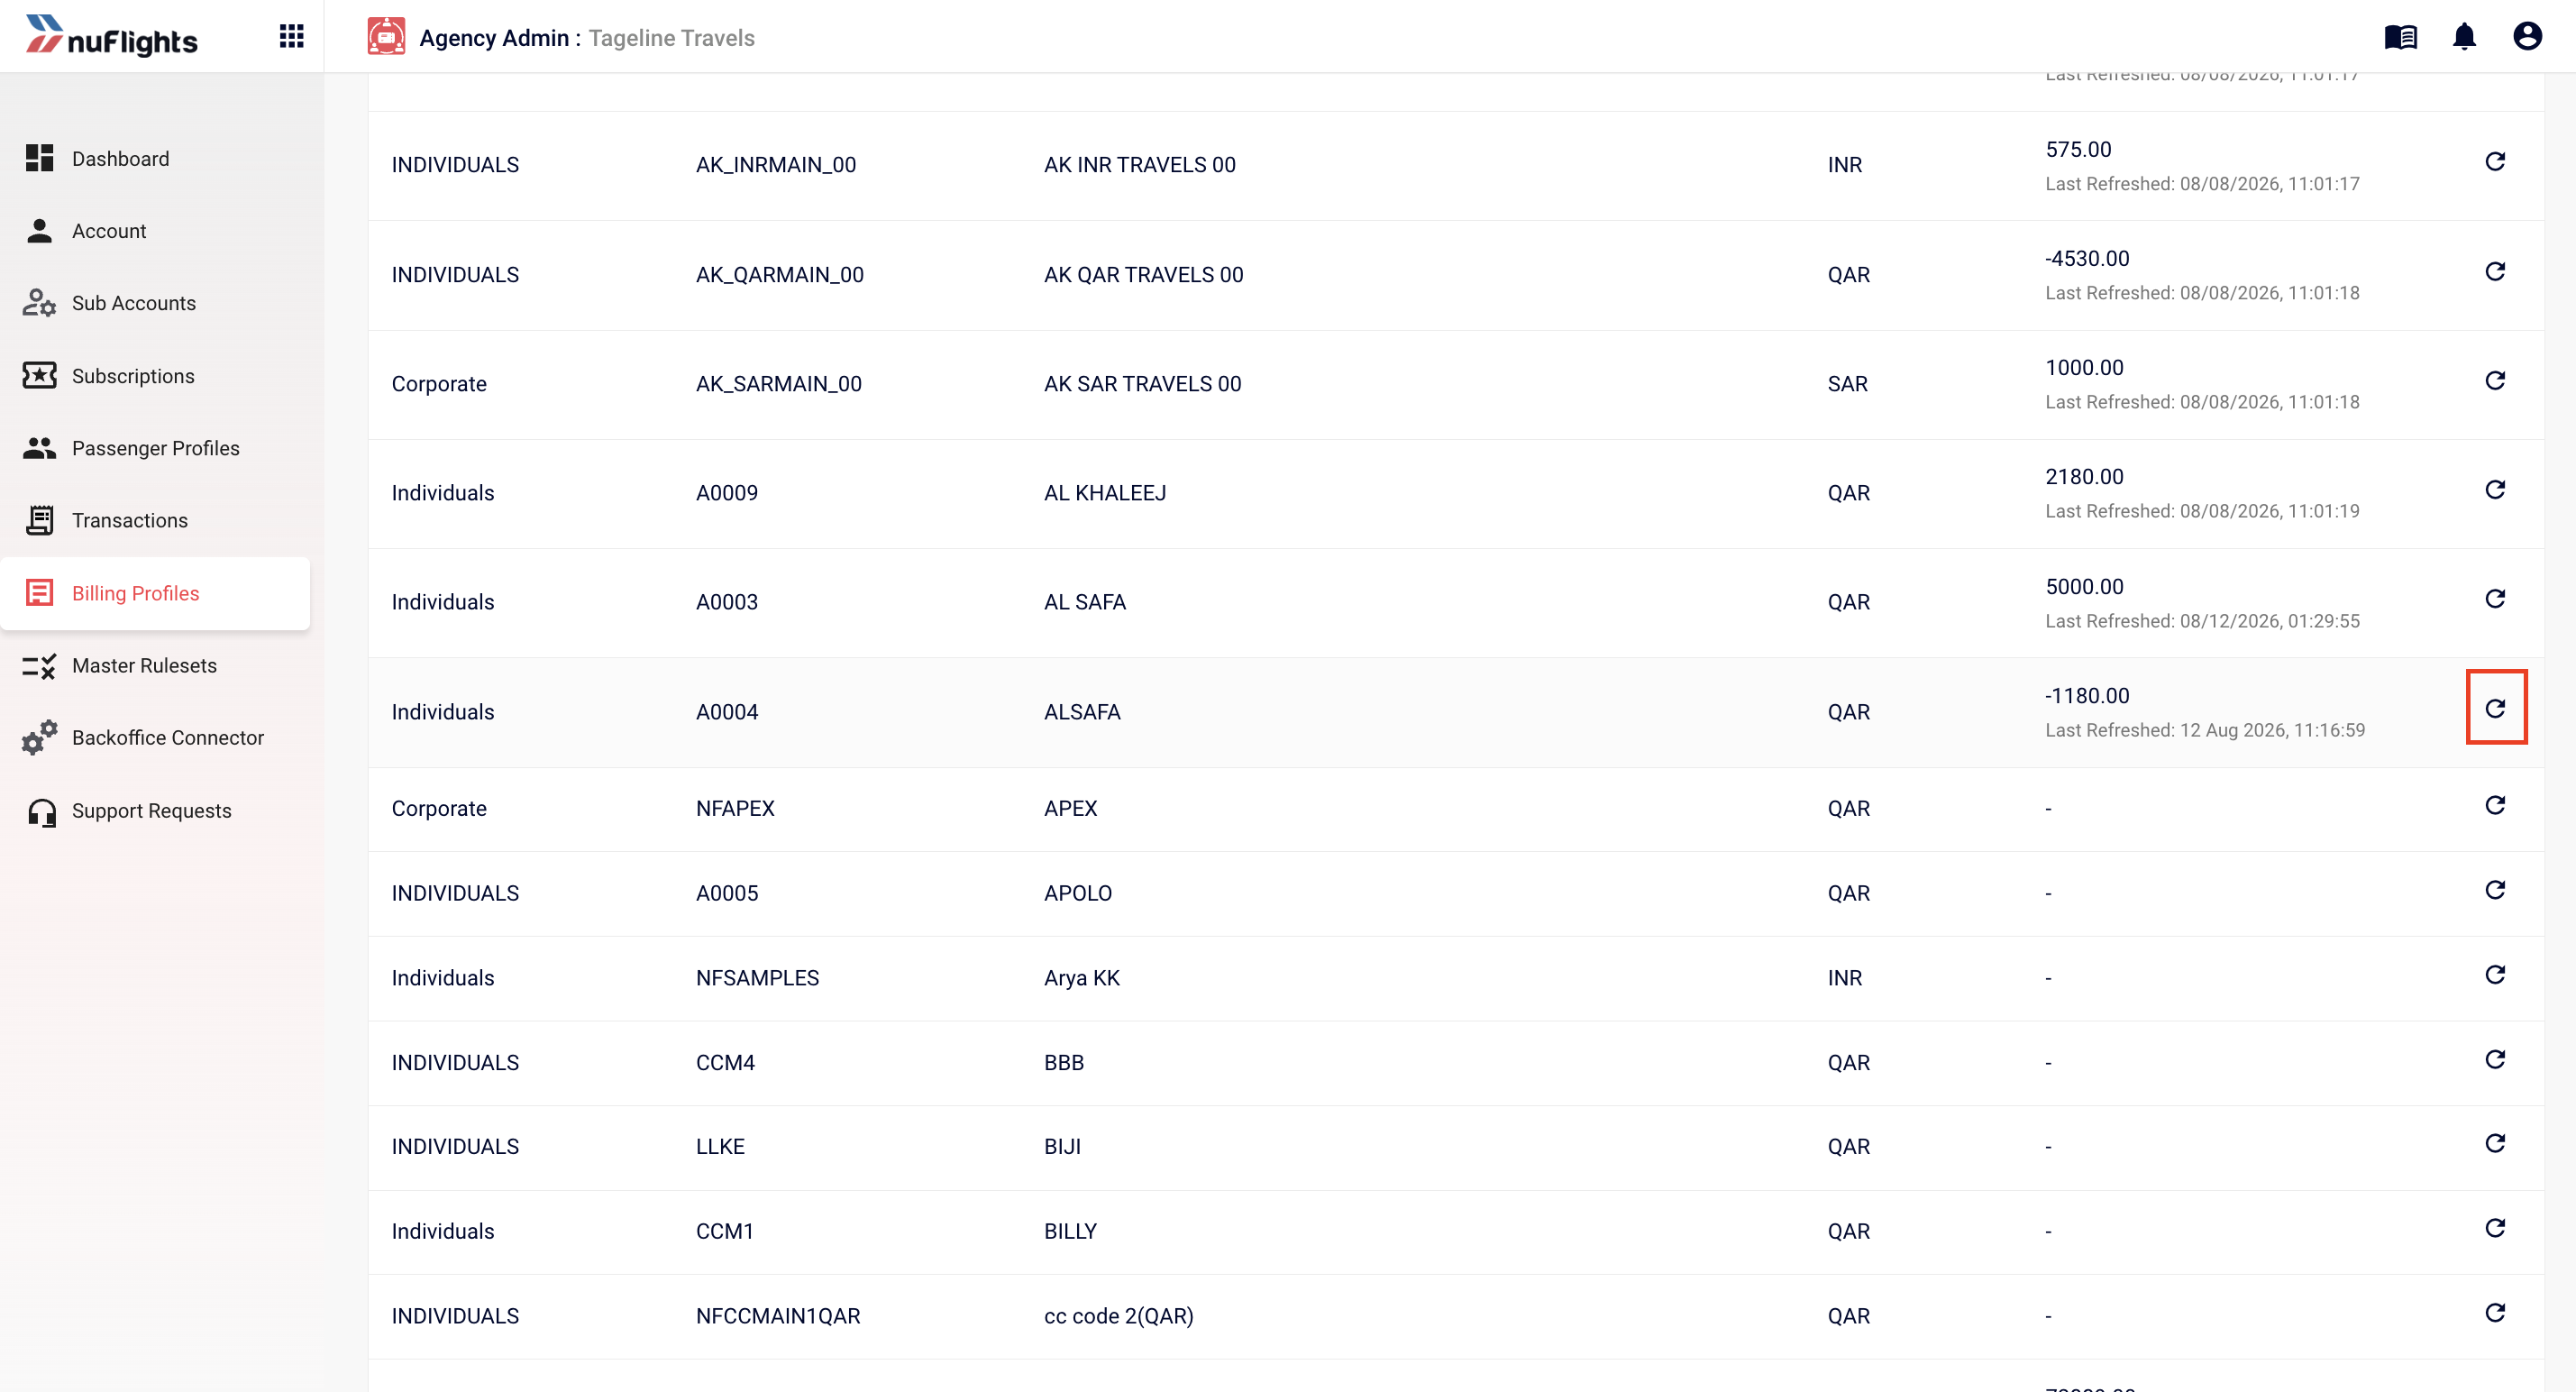
Billing Profiles — Credit balance details with last refreshed timestamp
The credit balance is fetched from TRAACS in real-time. The Last Refreshed timestamp indicates when the balance was last checked. Click the refresh icon at any time to get the latest balance.
Syncing Profiles from Wave TRAACS
For agencies using Wave TRAACS, customer profiles are fetched directly from your TRAACS system. To sync the latest profiles:
- Click the Sync from TRAACS button in the top-right corner of the Billing Profiles page.
- NuFlights will perform an API call to fetch all customer profiles from your Wave TRAACS system.
- Any new profiles added or modifications made in TRAACS will be reflected after the sync completes.
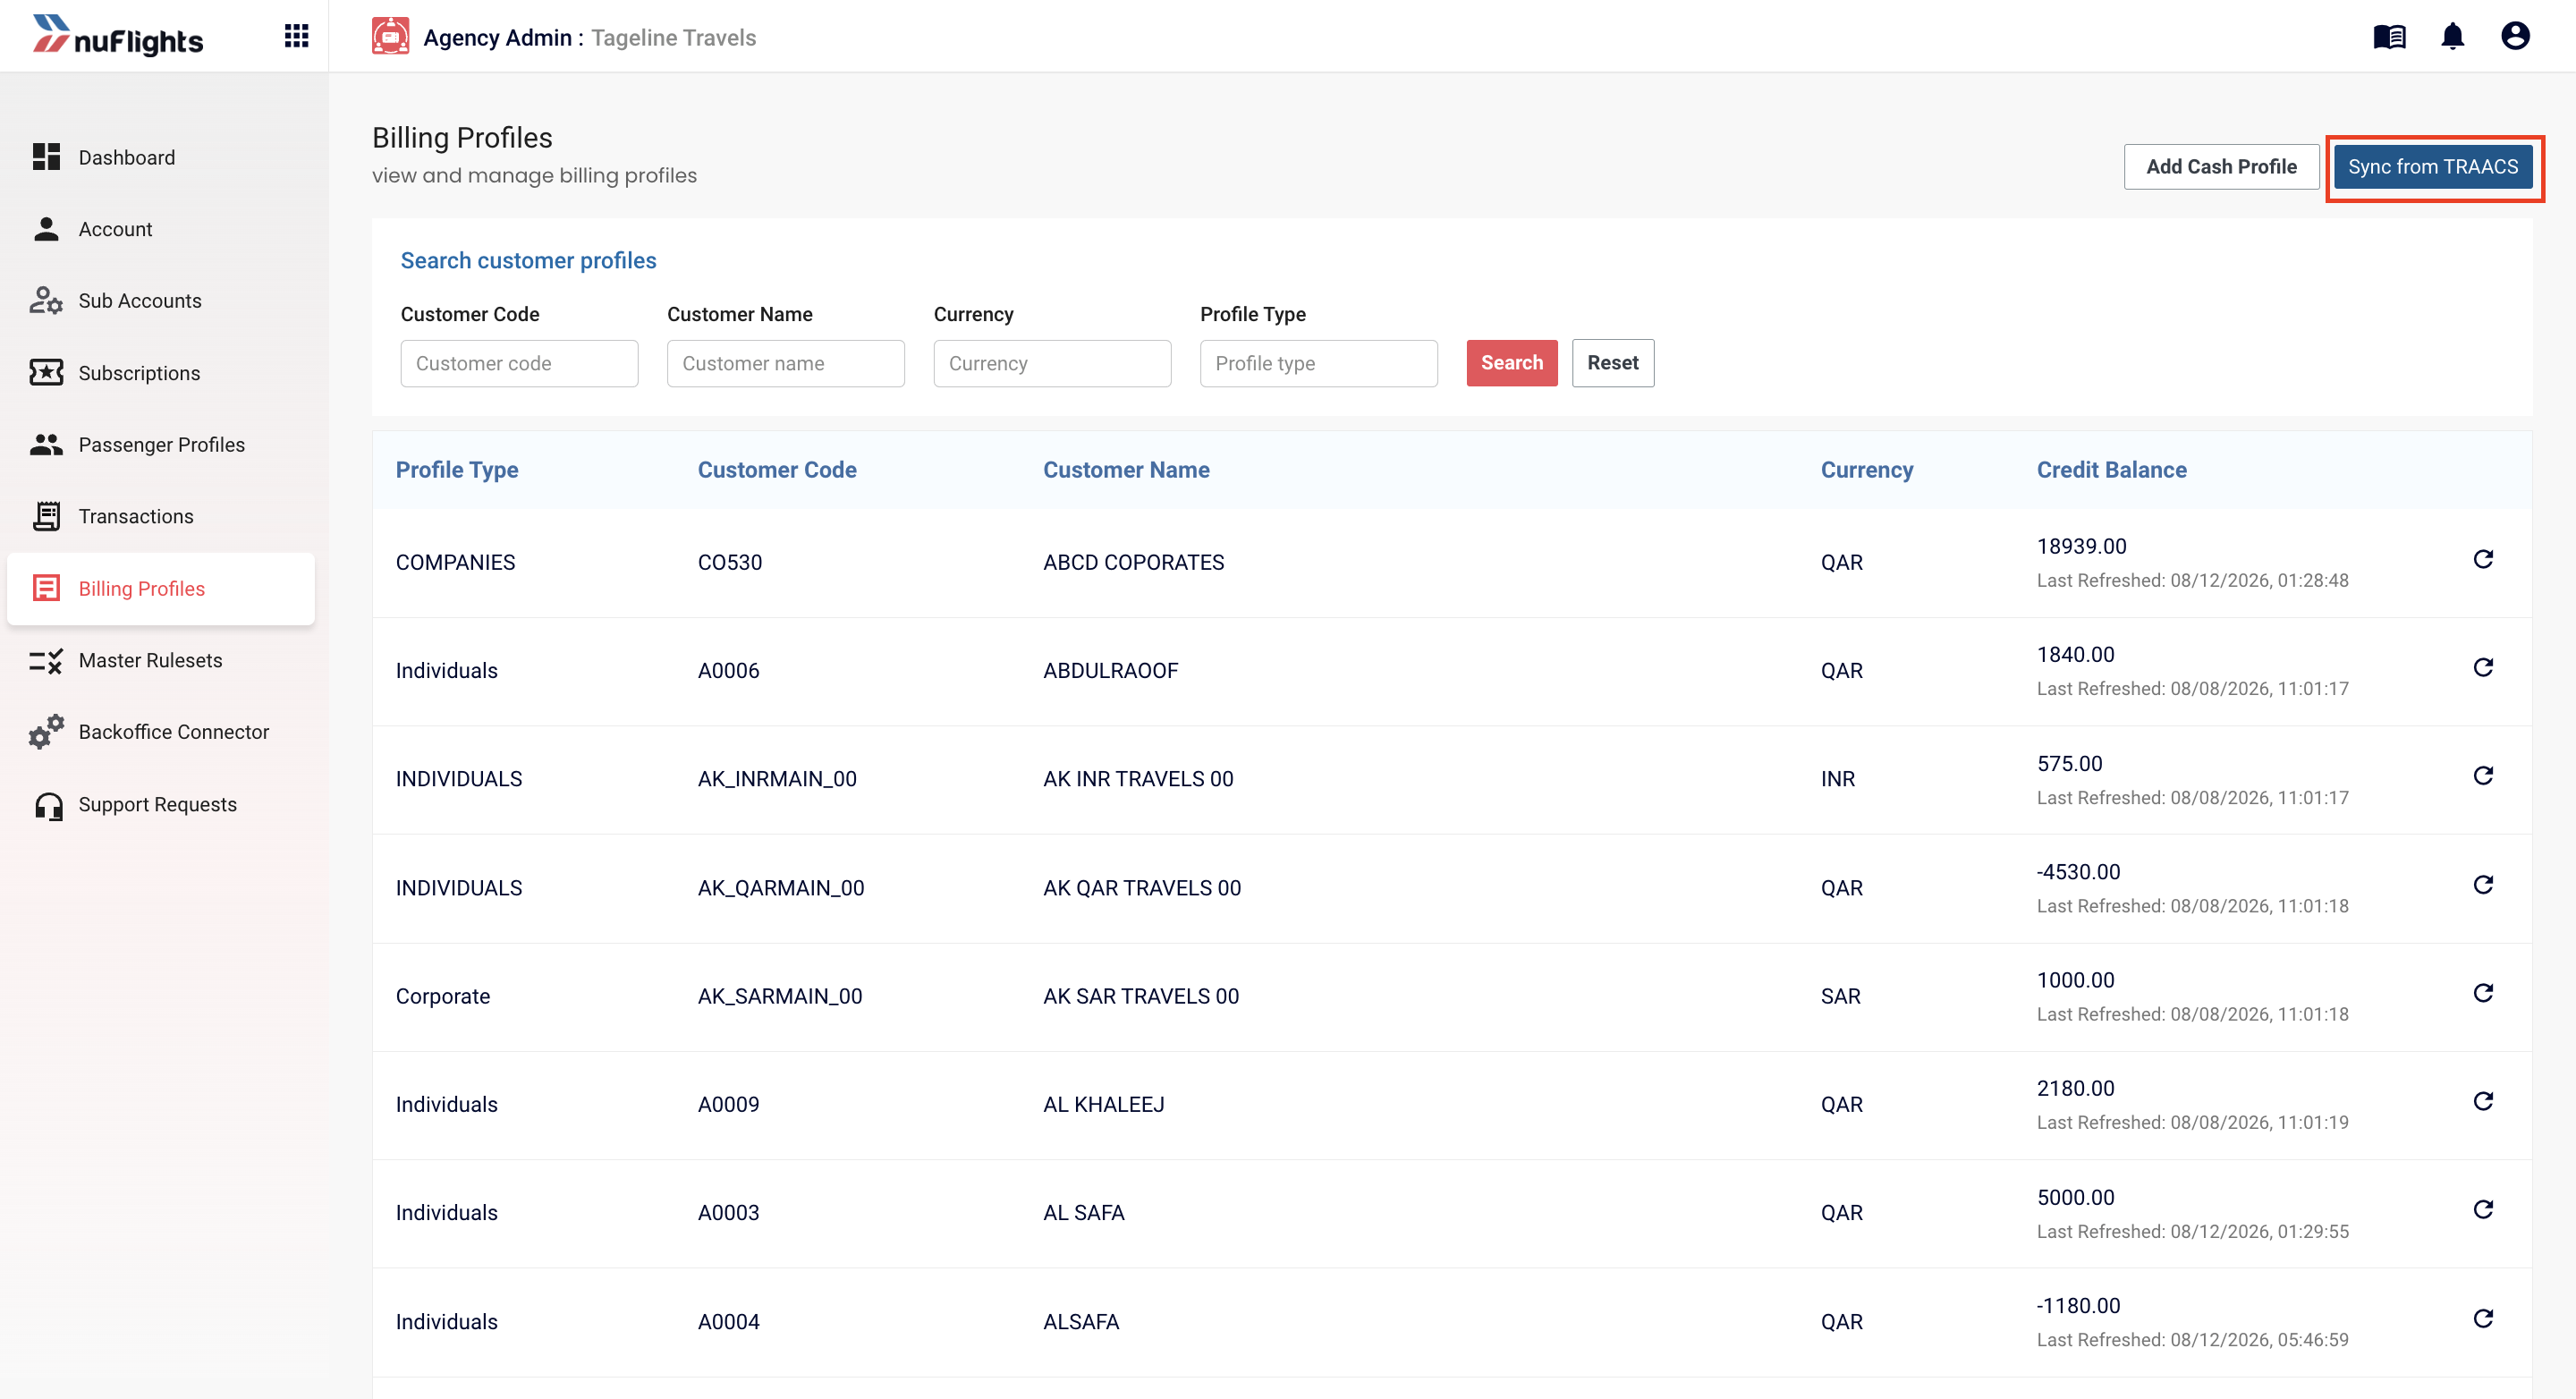
Billing Profiles page with Sync from TRAACS and Add Cash Profile buttons
You do not need to manually add profiles for Wave TRAACS. Simply click Sync from TRAACS to import all customer profiles automatically. The sync also updates credit balances.
Adding a Cash Customer
For walk-in or general customers who do not have a dedicated profile in TRAACS, agencies can create a Cash Customer profile. Cash Customer profiles bypass credit checks during ticket issuance.
- Click the Add Cash Profile button in the top-right corner.
- Fill in the details:
- Profile Type: Automatically set to
CASH ACCOUNT - Customer Code: Enter a unique code (e.g.,
WIP-001) - Customer Name: Enter the customer name (e.g.,
walk in) - Currency: Select the currency from the dropdown
- Profile Type: Automatically set to
- Click Save.
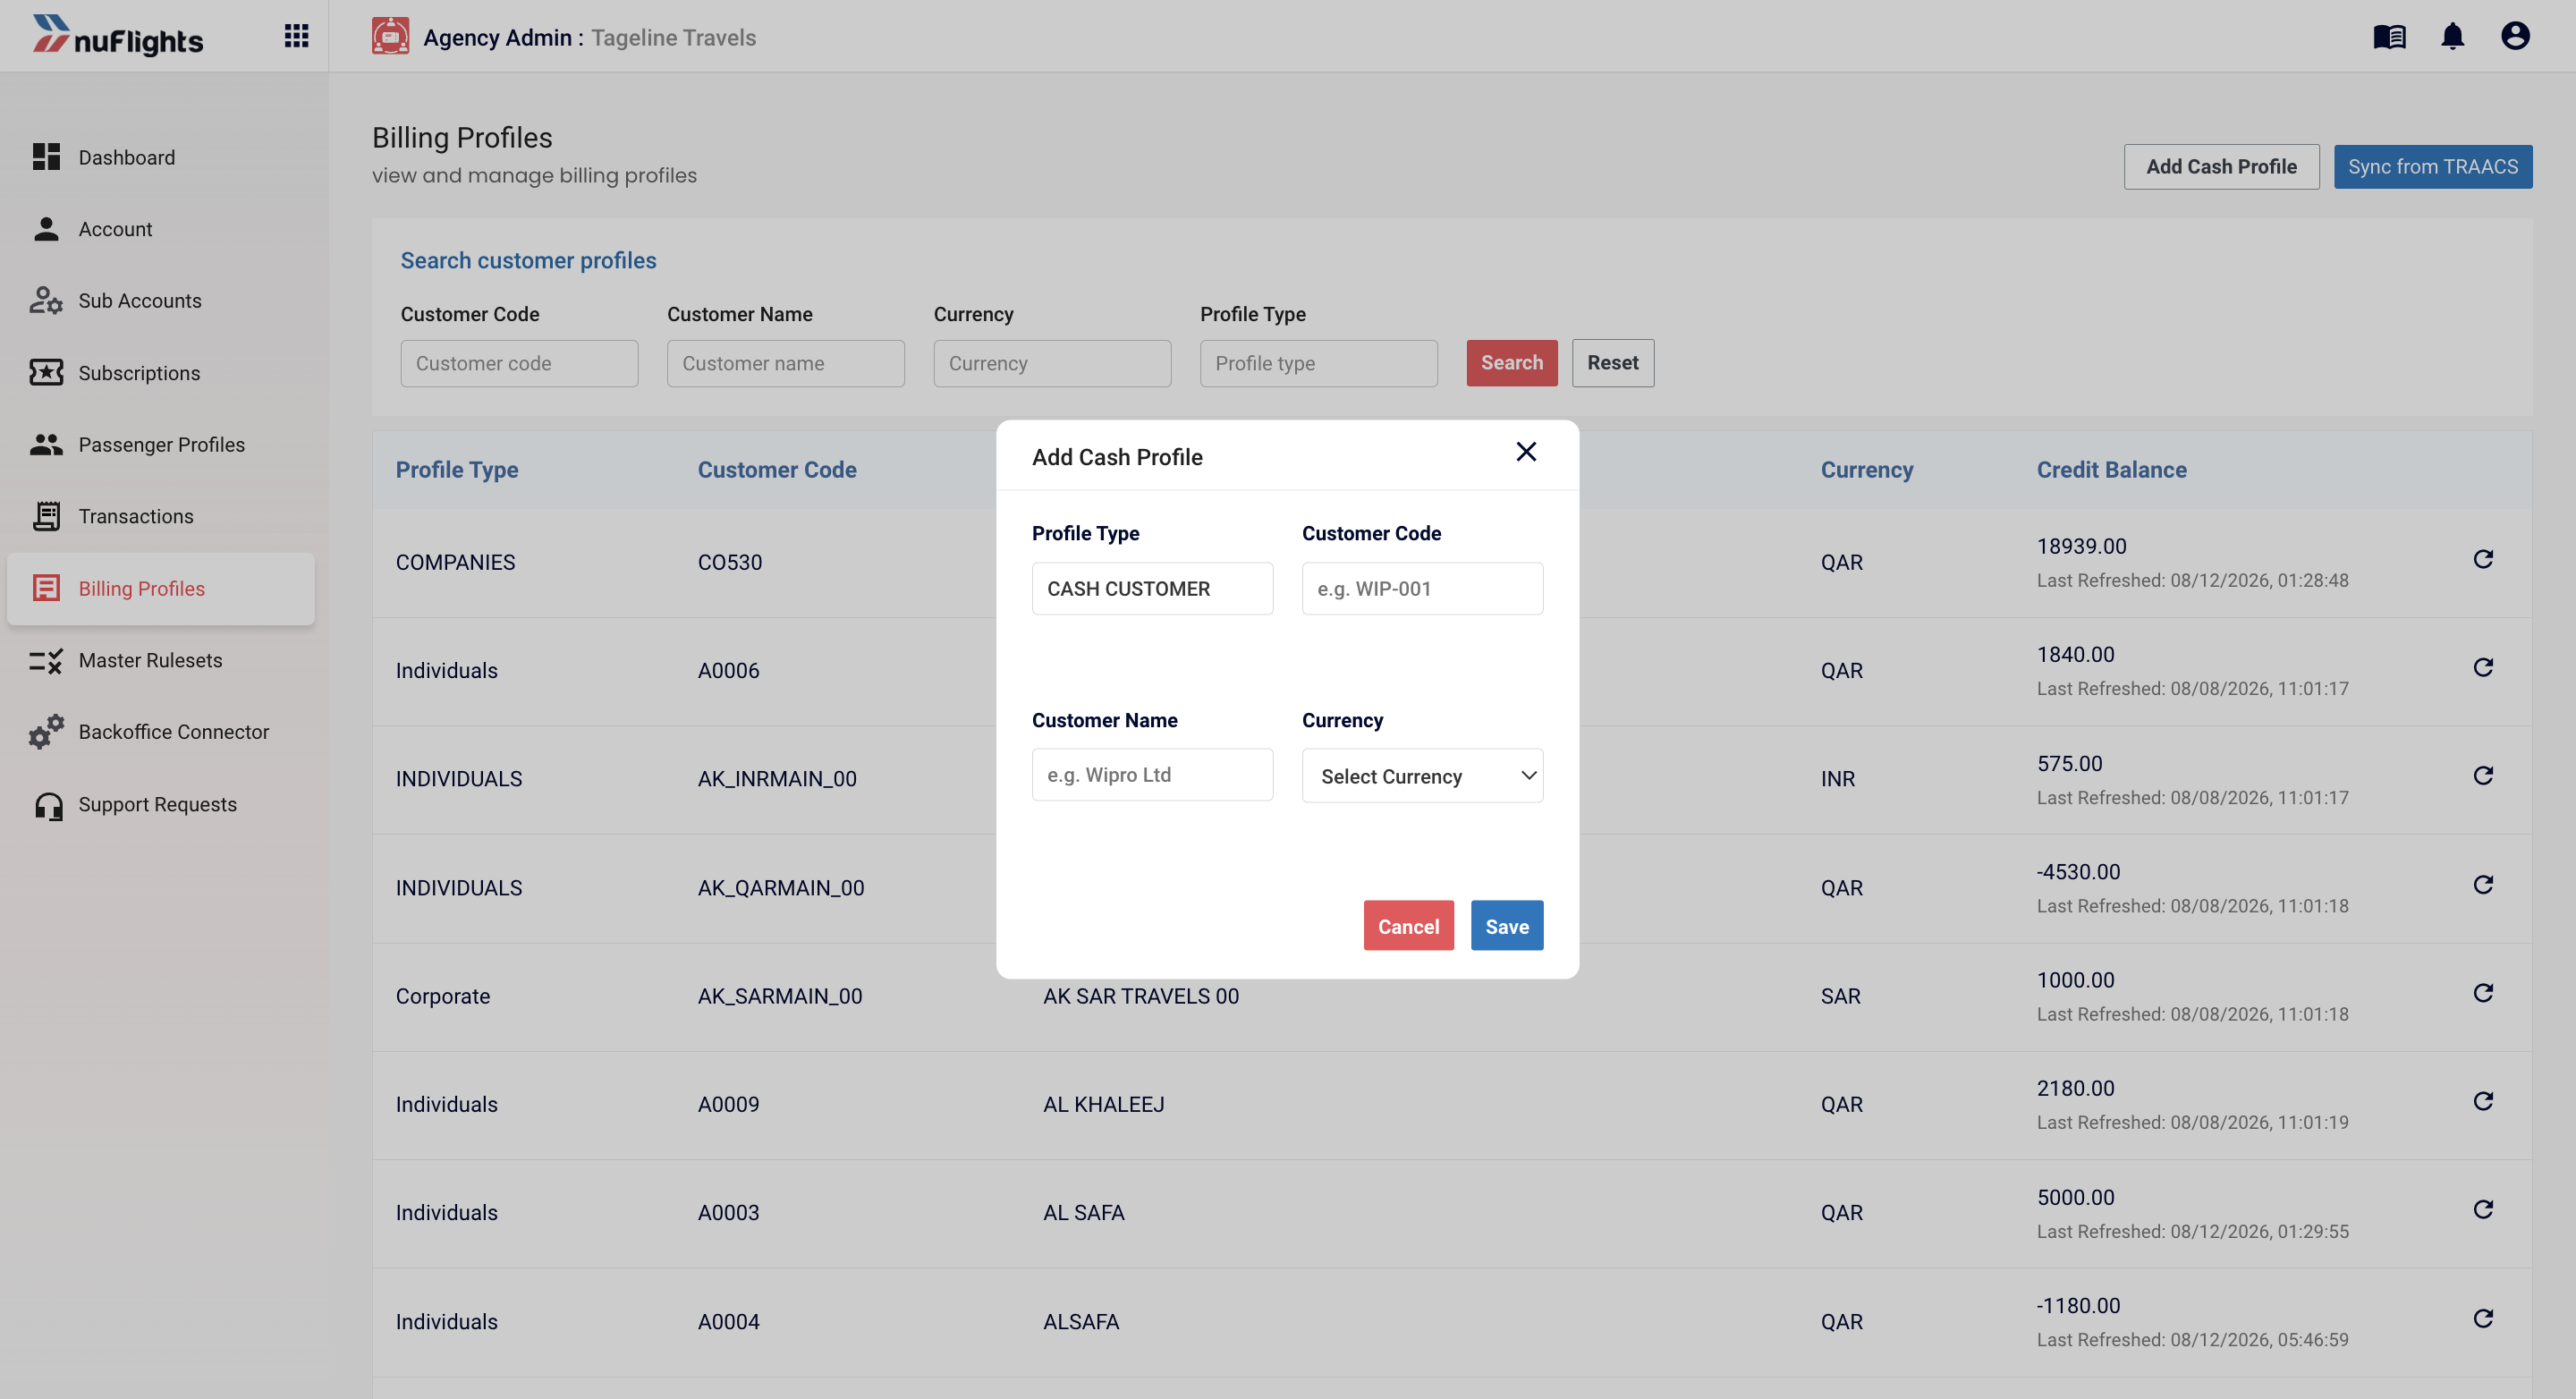
Add Cash Profile dialog — for creating walk-in or general customer profiles
The new cash customer profile will appear in the Billing Profiles list and can be used immediately on the Payment page.
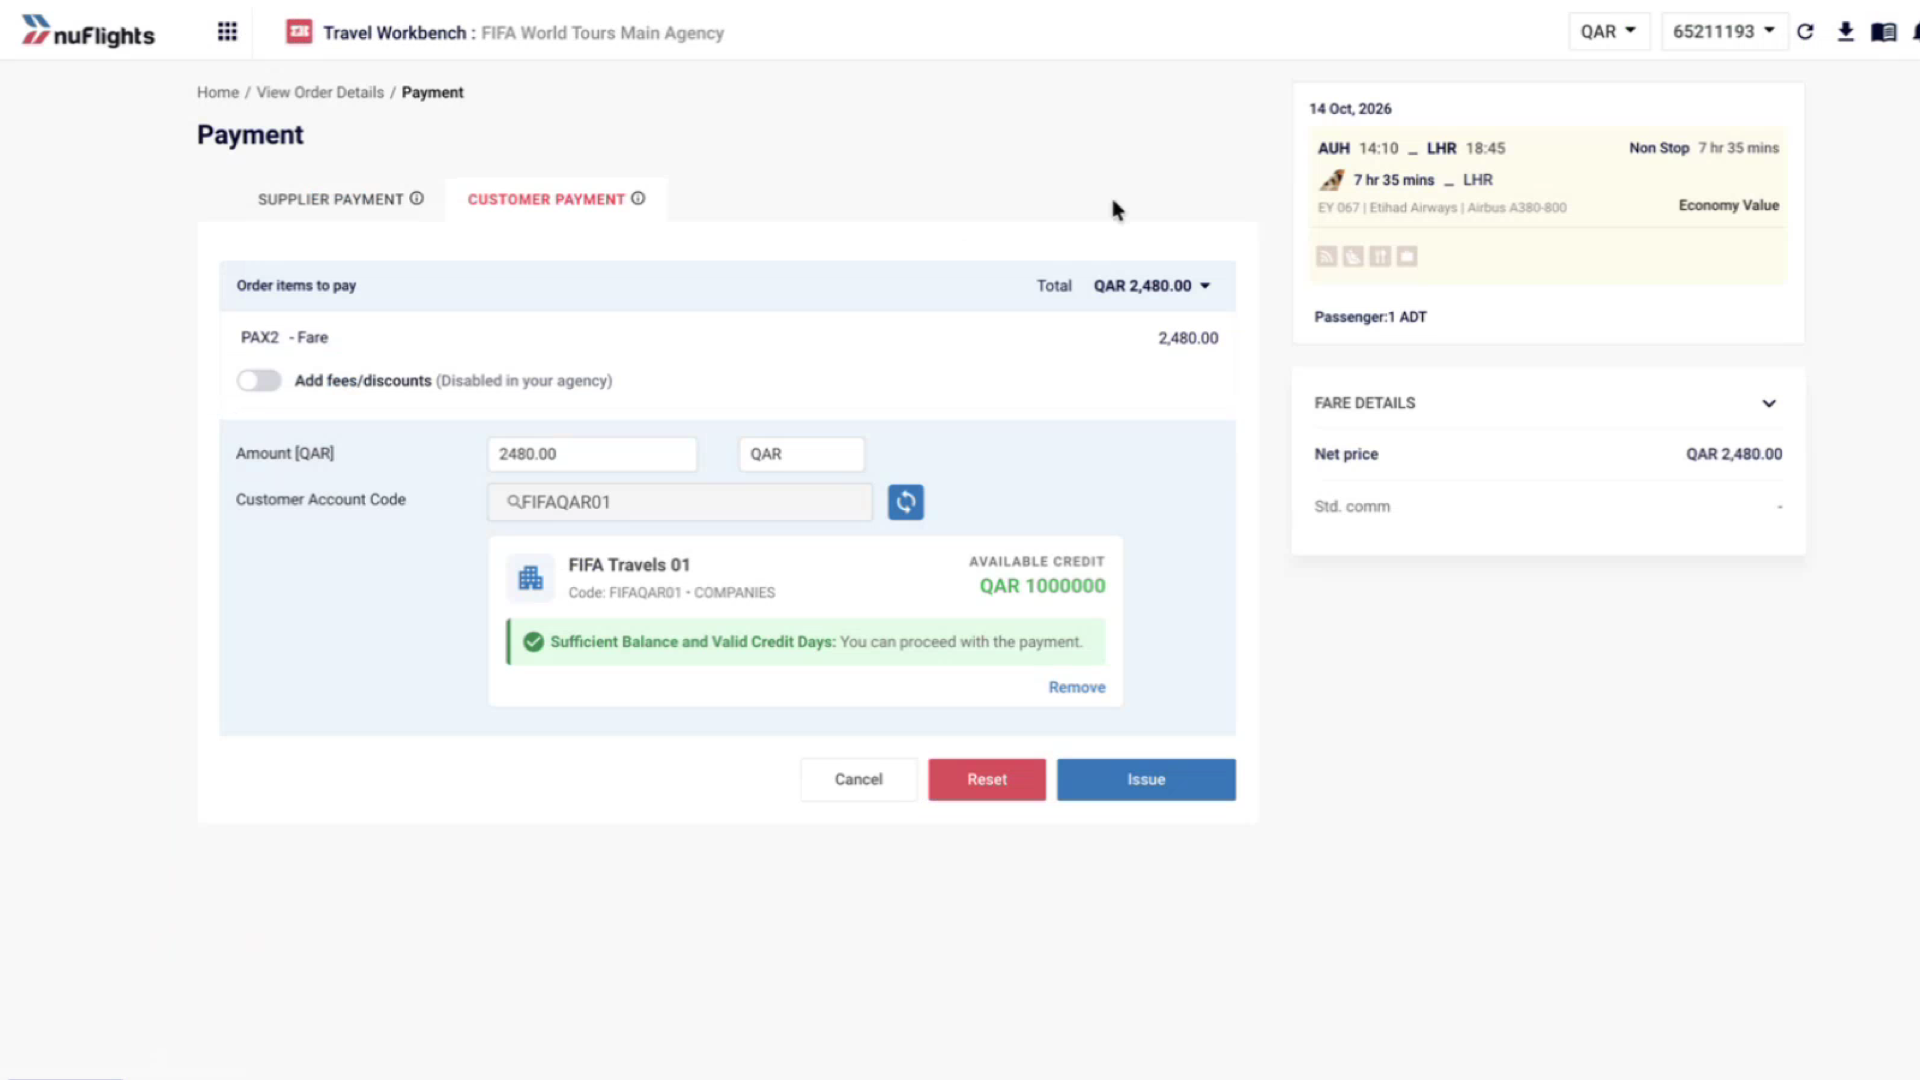
Cash Customer profile saved and visible in the profiles list
Cash Customer profiles are not subject to credit checks. When an agent selects a Cash Customer profile on the Payment page, the ticket can be issued directly without any credit validation.
Adding Profiles Manually (NuTRAACS / AIR File Export)
For agencies using NuTRAACS or AIR File Export mode, profiles are not automatically synced. You can add them in two ways:
Option 1: Add Profile Individually
- Click Add Profile on the Billing Profiles page.
- Enter the customer details — Profile Type, Customer Code, Customer Name, and Currency.
- Click Save.
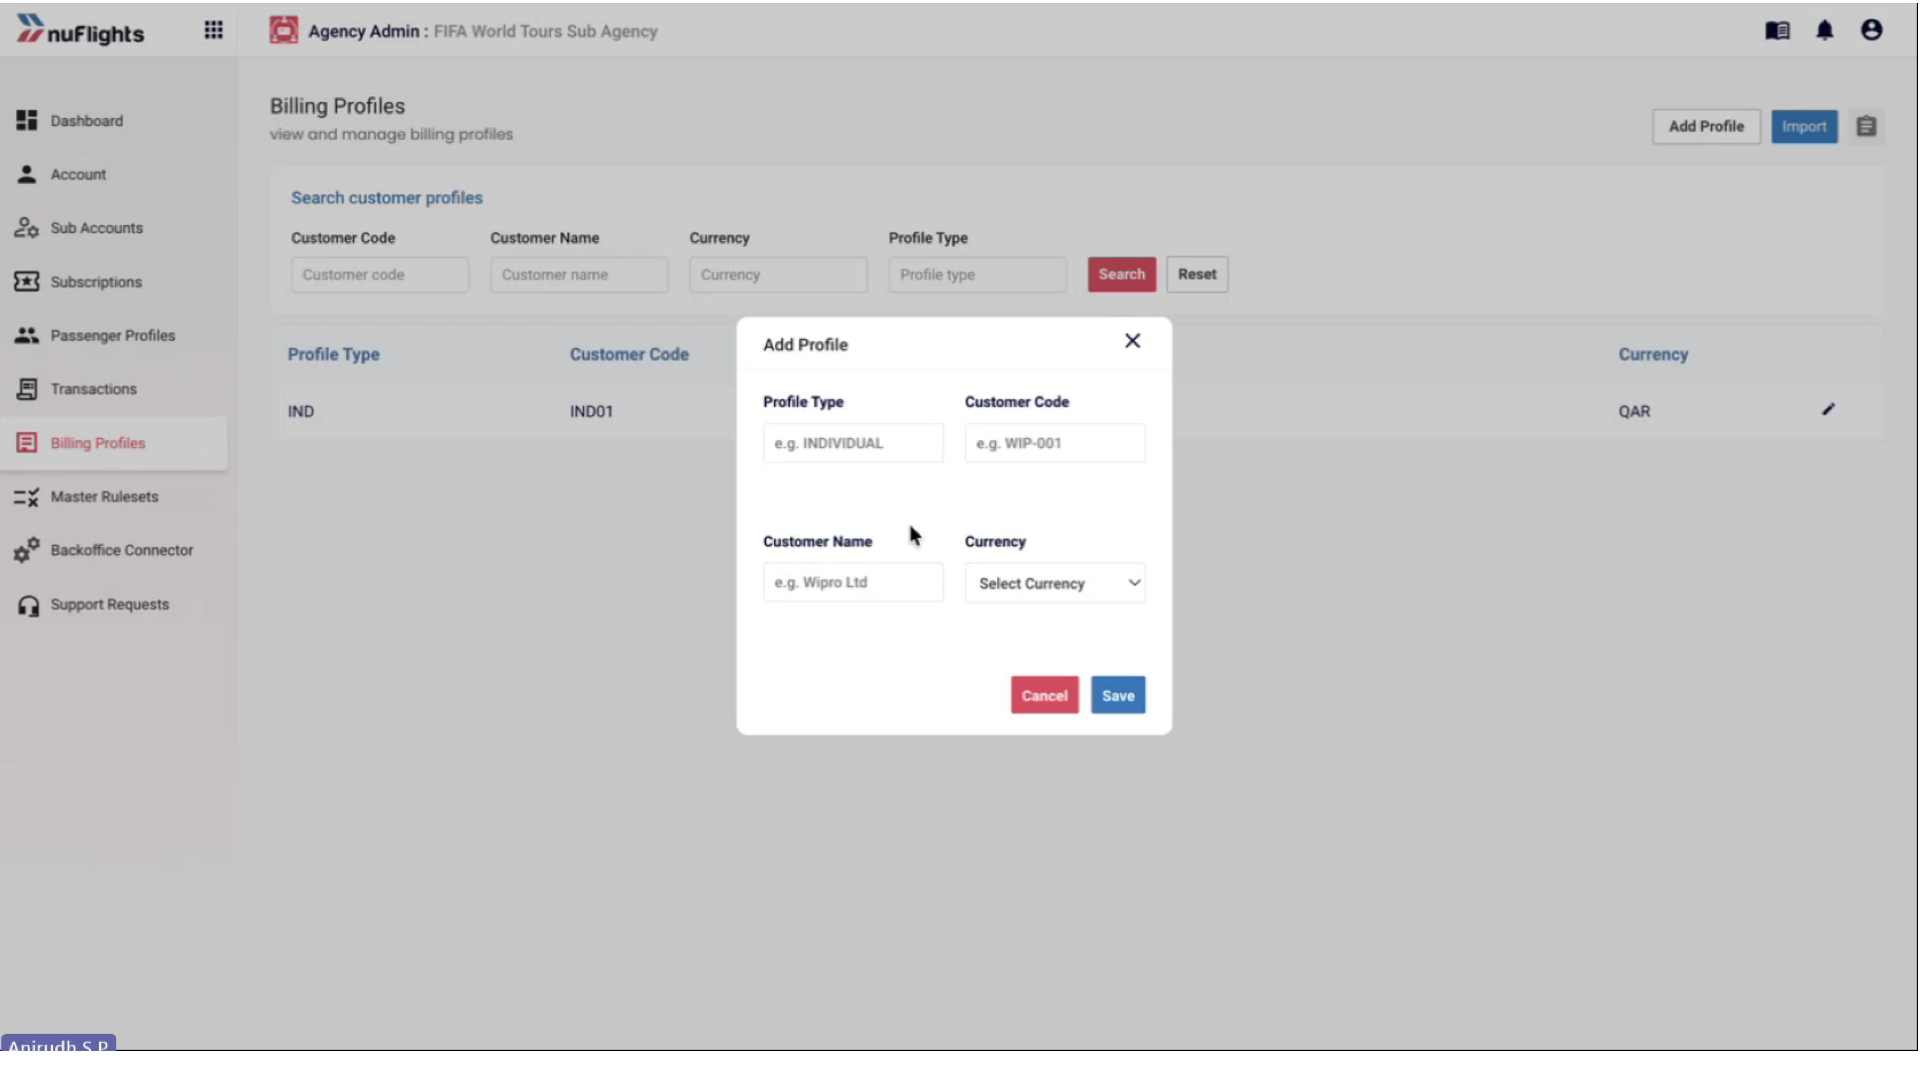
Add Profile dialog for NuTRAACS / AIR File Export customers
Option 2: Import via CSV
For agencies with a large number of customer records, importing via CSV is recommended:
- Click Download CSV Template to get the formatting template.
- Open the CSV file and fill in the customer details from your NuTRAACS system.
- Return to the Billing Profiles page and click Import.
- Upload the completed CSV file.
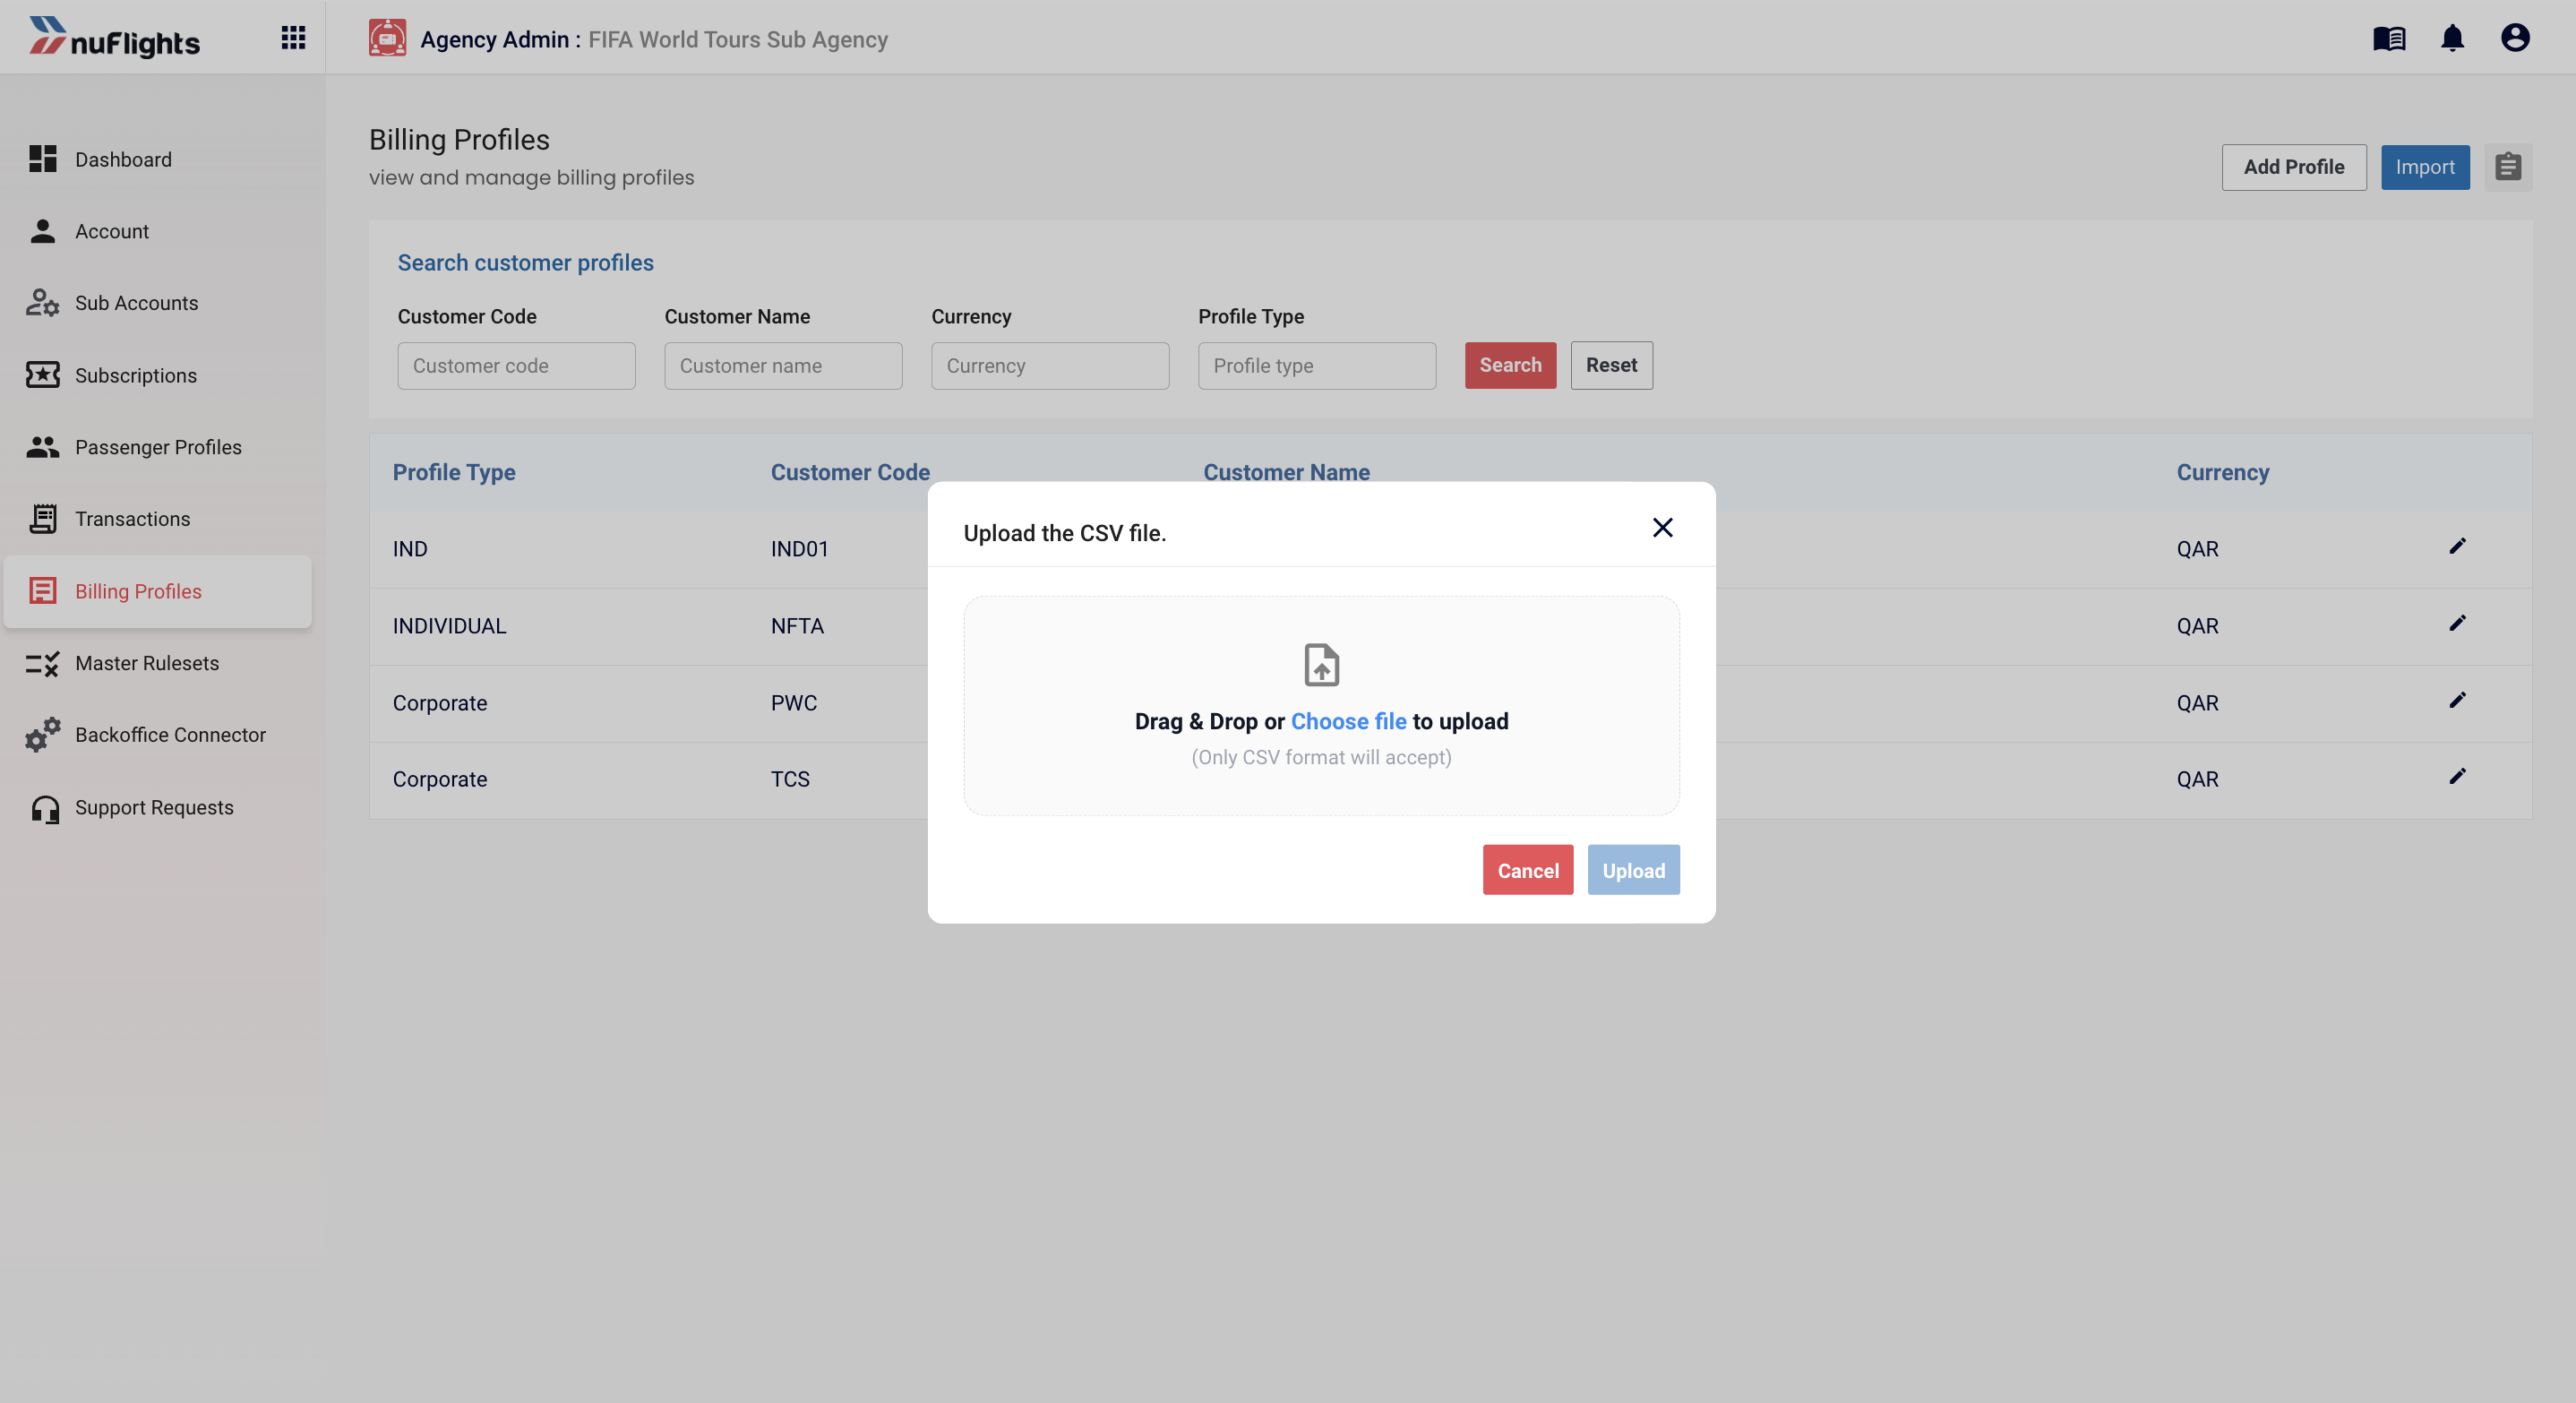
CSV Download and Import options for bulk profile management
Once the import is complete, all profiles will appear in the Billing Profiles list and will be available for use on the Payment page.
Summary by Backoffice Type
| Backoffice Type | Profile Source | Sync Method | Credit Control |
|---|---|---|---|
| Wave TRAACS | Fetched from TRAACS | Click Sync from TRAACS | Real-time credit check via TRAACS |
| NuTRAACS | Manually added or CSV import | Add Profile / Import CSV | No automated credit check |
| AIR File Export | Manually added or CSV import | Add Profile / Import CSV | No automated credit check |
| No Backoffice | Not applicable | N/A — Billing Profiles section is not shown | N/A |